Add Items to the Menu Bar
The Basics
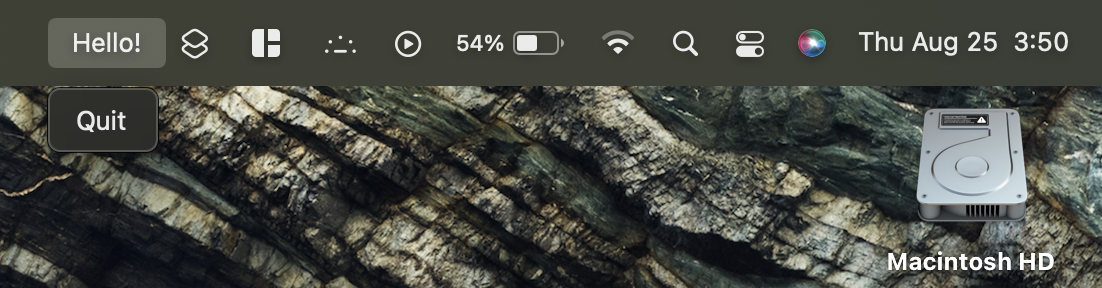
PyXA provides a straightforward way to add interactive items to the top menu bar of your Mac. Using the XAMenuBar class, you can add new menus, attach items and actions to them, and customize them in just a few lines of code. For example, the four line code below creates a new menu titled “Hello” and places it on the right side of the menu bar, to the left of any existing items.
import PyXA
menu_bar = PyXA.XAMenuBar()
m1 = menu_bar.new_menu("Hello!")
menu_bar.display()
This code instantiates a new XAMenuBarMenu object with “Hello” as its title text, then displays the menu in the system status bar. We haven’t added any interactivity yet, but PyXA already handles the task of adding a “Quit” option to the menu. Helpful! When you run this code, you should see something along these lines (though your icons may be in a different order):
Note that, unlike many other PyXA features, your menu bar script will stay running until you specific tell it to quit. This allows you to create create customizations to your menu bar that persist throughout your work session. If you set the script to run on startup, you can create a persistent modification to the menu bar in this way.
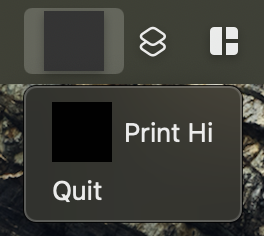
The script above creates menu button that currently doesn’t do anything. To add interactivity, use the new_item() method to associate a menu item with some method. Continuing our example, let’s add a menu item that, when clicked, prints “Hi” to the Terminal. This change can be made by adding a single line, as seen below:
import PyXA
menu_bar = PyXA.XAMenuBar()
menu = menu_bar.new_menu("Hello!")
item = menu.new_item(content="Print Hi", action=lambda item, *args: print("Hi"))
menu_bar.display()
The new_item() method associates an action method to a menu item with a given ID. When that item is clicked by the user, the action method will be executed. The above code, when run, produces the following menu:

The code above uses a lambda function to specify our method; this is a convenient way to write the code concisely, but you can also pass in a normal function name to achieve the same effect. The code above can also be expressed as:
import PyXA

def print_hi(item, *args):
    print("Hi")

menu_bar = PyXA.XAMenuBar()
menu = menu_bar.new_menu("Hello!")
item = menu.new_item(content="Print Hi", action=print_hi)
menu_bar.display()
Menus, menu items, and subitems all accept an optional action argument, allowing you to set a method to be executed when a menu is opened or a menu item is clicked.
import PyXA

# State-based images
on_icon = PyXA.XAImage.symbol("sun.max")
off_icon = PyXA.XAImage.symbol("moon")
state = True

def toggle_state(menu, button):
    global state
    if button == 1:
        # Handle right click -- toggle state
        state = not state
        menu.icon = on_icon if state else off_icon

# Create and display the menu
menu_bar = PyXA.XAMenuBar()
menu = menu_bar.new_menu(icon=on_icon, action=toggle_state)
menu_bar.display()
To add a submenu to a menu item, use new_subitem(). Likewise, to add a non-interactive separator item, use add_separator(). Using these building blocks, you can easily add additional menus and menu items, further extending the functionality of your menu bar. A few examples are provided below.
Example 1 - Application Launcher
import PyXA

# Initialize application objects
safari = PyXA.Application("Safari")
messages = PyXA.Application("Messages")
notes = PyXA.Application("Notes")
shortcuts = PyXA.Application("Shortcuts")
discord = PyXA.Application("Discord")
github = PyXA.Application("GitHub Desktop")
vscode = PyXA.Application("Visual Studio Code")

# Construct the menu
menu_bar = PyXA.XAMenuBar()
app_menu = menu_bar.new_menu(icon=PyXA.XAImage.symbol("square.grid.2x2"))  # Give the menu an app grid-esque icon
app_menu.new_item(content="Safari", action=lambda *args: safari.activate(), icon=safari.icon) # Use the application icons as menu item images
app_menu.new_item("Messages", action=lambda *args: messages.activate(), icon=messages.icon)
app_menu.new_item("Notes", action=lambda *args: notes.activate(), icon=notes.icon)
app_menu.new_item("Shortcuts", action=lambda *args: shortcuts.activate(), icon=shortcuts.icon)
app_menu.new_item("Discord", action=lambda *args: discord.activate(), icon=discord.icon)
app_menu.new_item("GitHub Desktop", action=lambda *args: github.activate(), icon=github.icon)
app_menu.new_item("Visual Studio Code", action=lambda *args: vscode.activate(), icon=vscode.icon)
menu_bar.display()
Example 2 - Emoji Bookmarks
import PyXA
menu_bar = PyXA.XAMenuBar()
m1 = menu_bar.new_menu("🌦")
m1.new_item("Weather.gov", action=lambda *args: PyXA.XAURL("https://www.weather.gov").open())
m1.new_item("Weather.com", action=lambda *args: PyXA.XAURL("https://weather.com/weather/today").open())
m1.new_item("Accuweather.com", action=lambda *args: PyXA.XAURL("https://www.accuweather.com").open())

m2 = menu_bar.new_menu("📖")
m2.new_item("Develop in Swift", action=lambda *args: PyXA.XAURL("https://books.apple.com/us/book/develop-in-swift-fundamentals/id1511184145").open())
m2.new_item("NYTimes", action=lambda *args: PyXA.XAURL("https://www.nytimes.com").open())
m2.new_item("New York Public Library", action=lambda *args: PyXA.XAURL("https://www.nypl.org").open())

m3 = menu_bar.new_menu("🦊")
m3.new_item("Random Fox Image", action=lambda *args: PyXA.XAURL("https://randomfox.ca").open())
m3.new_item("Random Duck Image", action=lambda *args: PyXA.XAURL("https://generatorfun.com/random-duck-image").open())
m3.new_item("Random Cat Image", action=lambda *args: PyXA.XAURL("https://genrandom.com/cats/").open())
menu_bar.display()
Example 3 - Application Controller
import PyXA

menu_bar = PyXA.XAMenuBar()
menu = menu_bar.new_menu("⚙️")
menu.new_item("Minimize all windows", action=lambda *args: PyXA.running_applications().windows().collapse(), icon=PyXA.XAImage.symbol("dock.arrow.down.rectangle"))
menu.new_item("Hide all applications", action=lambda *args: PyXA.running_applications().hide(), icon=PyXA.XAImage.symbol("eye.slash"))
menu.new_item("Quite all applications", action=lambda *args: PyXA.running_applications().terminate(), icon=PyXA.XAImage.symbol("xmark.circle"))
menu_bar.display()
Customization
You can customize your menu bar items by adding images to them, as well as by adjusting the width and height of the images. Additional customization options might be added in the future.
To display an image on the menu bar, create an XAImage object and set it as the image argument when calling new_menu(). The example below shows this in action – and it even draws the image from an online source (though you could just as easily use a local source instead). When calling new_menu(), you can also specify the image_dimensions argument to customize the size of the image.
import PyXA
img = PyXA.XAImage("https://www.nasa.gov/sites/default/files/thumbnails/image/main_image_star-forming_region_carina_nircam_final-5mb.jpg")
menu_bar = PyXA.XAMenuBar()
menu_bar.new_menu(icon=img, icon_dimensions=(100, 50))
menu_bar.display()

You can update the image during runtime by setting the image and image_dimensions attributes. The code below displays a random fox image in the menu bar and allows users to click a “Random Fox” menu item to retrieve a new image.
import PyXA
import requests

def random_fox_link() -> str:
    response = requests.get("https://randomfox.ca/floof/")
    json_data = response.json()
    return json_data["image"]

def update_image(item, button, menu, *args):
    img = PyXA.XAImage(random_fox_link())
    menu.icon = img

img = PyXA.XAImage(random_fox_link())
menu_bar = PyXA.XAMenuBar()
menu = menu_bar.new_menu(icon=img, icon_dimensions=(80, 44))
menu.new_item("Random Fox", action=update_image, args=[menu])
menu_bar.display()
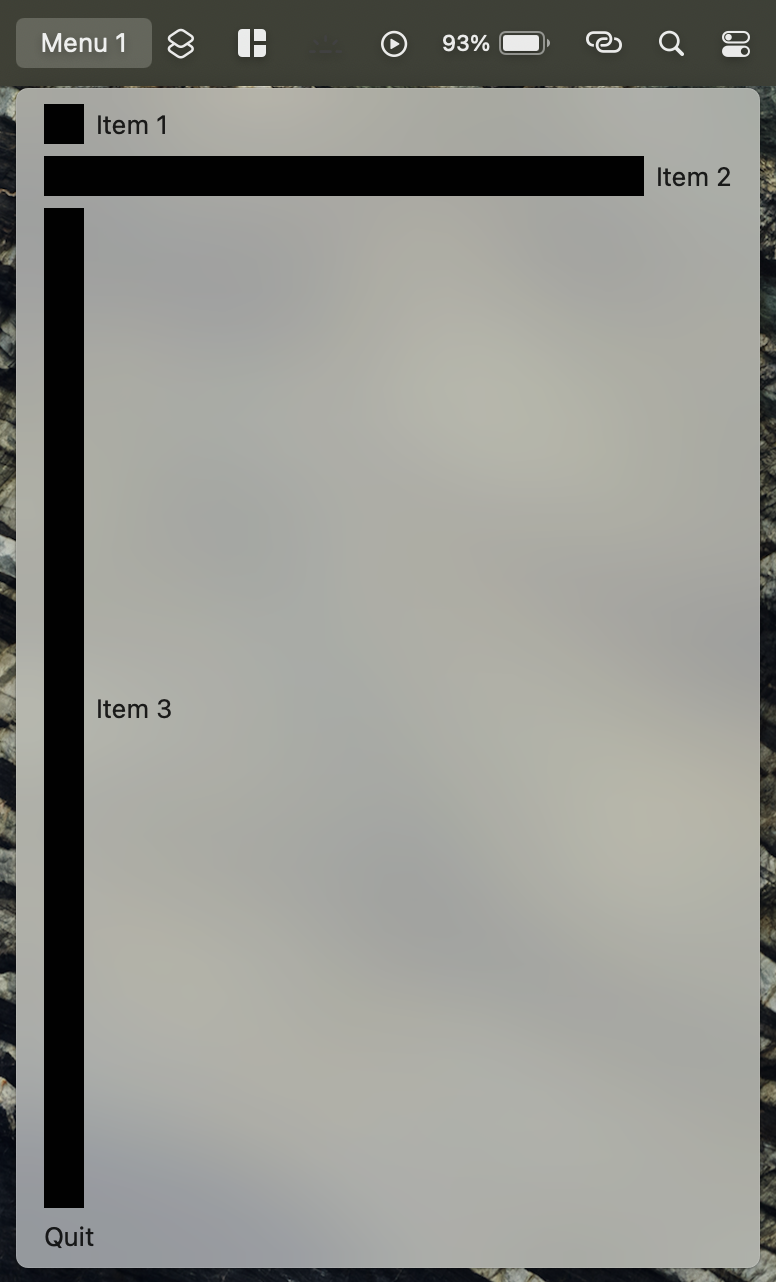
You can also add images to menu items in a similar manner. When calling PyXA.XABase.XAMenuBarMenu.new_item(), provide an image argument alongside an optional image_dimensions argument. The example below creates three menu items, each with an image attached. While the width and height for a menu in the menu bar is limited to the available space, there is no such restriction for items within menus – you can set the image to be as large or as small as you want.
import PyXA

icon1 = PyXA.XAImage("/Users/exampleUser/Documents/icon1.jpg")
icon2 = PyXA.XAImage("/Users/exampleUser/Documents/icon2.jpg")
icon3 = PyXA.XAImage("/Users/exampleUser/Documents/icon3.jpg")

menu_bar = PyXA.XAMenuBar()
menu = menu_bar.new_menu("Menu 1")
menu.new_item("Item 1", icon=icon1)
menu.new_item("Item 2", icon=icon2, icon_dimensions=(300, 300))
menu.new_item("Item 3", icon=icon3, icon_dimensions=(500, 250))
menu_bar.display()
Another way to customize your menus is by modifying the text that they display. By default, menus and menu items will display the name that they are given upon creation, but you can modify the displayed text by setting the title attribute. The example below uses this feature to create a near-live CPU monitor in the menu bar:
import PyXA
import psutil
import threading

update_interval = 1

def set_update_interval(slider, *args):
    global update_interval
    update_interval = (slider.value * 10 + 1) / 100

menu_bar = PyXA.XAMenuBar()
graph_menu = menu_bar.new_menu(icon_dimensions=(5, 20))
text_menu = menu_bar.new_menu("CPU: 0%")

slider_label = graph_menu.new_item("Update Interval")
slider_label.enabled = False

interval_slider = graph_menu.new_slider_item(action=set_update_interval)
interval_slider.value = 9.9

def update_display():
    while True:
        # Get CPU utilization, update title text
        cpu_usage = psutil.cpu_percent(update_interval)
        message = "CPU: " + str(cpu_usage) + "%"
        text_menu.content = message

        # Construct graph image
        used_graph_height = 20 * cpu_usage / 100.0
        used_color = PyXA.XAColor.green() if cpu_usage < 60 else PyXA.XAColor.red()
        used_swatch = used_color.make_swatch(5, used_graph_height + 1)
        divider_swatch = PyXA.XAColor.black().make_swatch(5, 2)
        free_swatch = PyXA.XAColor.gray().make_swatch(5, 20 - used_graph_height)

        # Display utilization graph
        graph_img = PyXA.XAImage.vertical_stitch([used_swatch, divider_swatch, free_swatch])
        graph_menu.icon = graph_img

cpu_monitor = threading.Thread(target=update_display)
cpu_monitor.start()
menu_bar.display()
